Productadvies
Op deze pagina vind jij een uitgebreid assortiment aan partnerproducten met bijbehorende informatie.


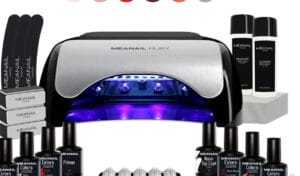
Bekijk de beste gellak lampen

Op deze pagina vind jij een uitgebreid assortiment aan partnerproducten met bijbehorende informatie.